X
Select Your Country
Germany (Deutsch)
Worldwide (English)
X
Select Your Country
Germany (Deutsch)
Worldwide (English)
New customers save 30% in the first month with the code
WELCOME30
!
0
Sign In
Support
Game Server
No Slot limit. Dedicated resources. Premium hardware only.
Located in germany.
New customers save 30% in the first month with the code
WELCOME30
!
Popular
Minecraft
Starting at
5€
per month.
Garry's Mod
Starting at
5€
per month.
Rust
Starting at
10€
per month.
V Rising
Starting at
10€
per month.
Cryofall
Starting at
5€
per month.
Enshrouded
Starting at
10€
per month.
And more...
Domains
News
Status
Knowledge Base
Knowledge Base
Homepage
Knowledge Base
Game Servers
Minecraft
Install and Setup Dynmap
Install and Setup Dynmap
Open a Support Ticket
and request an additional port for your server.
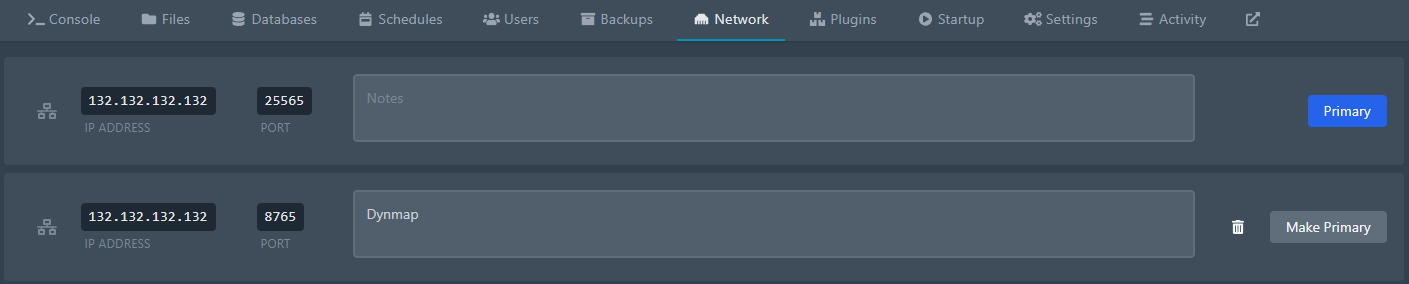
Wait until you have your additional port assigned. You can find all your servers port in the panels Network tab:
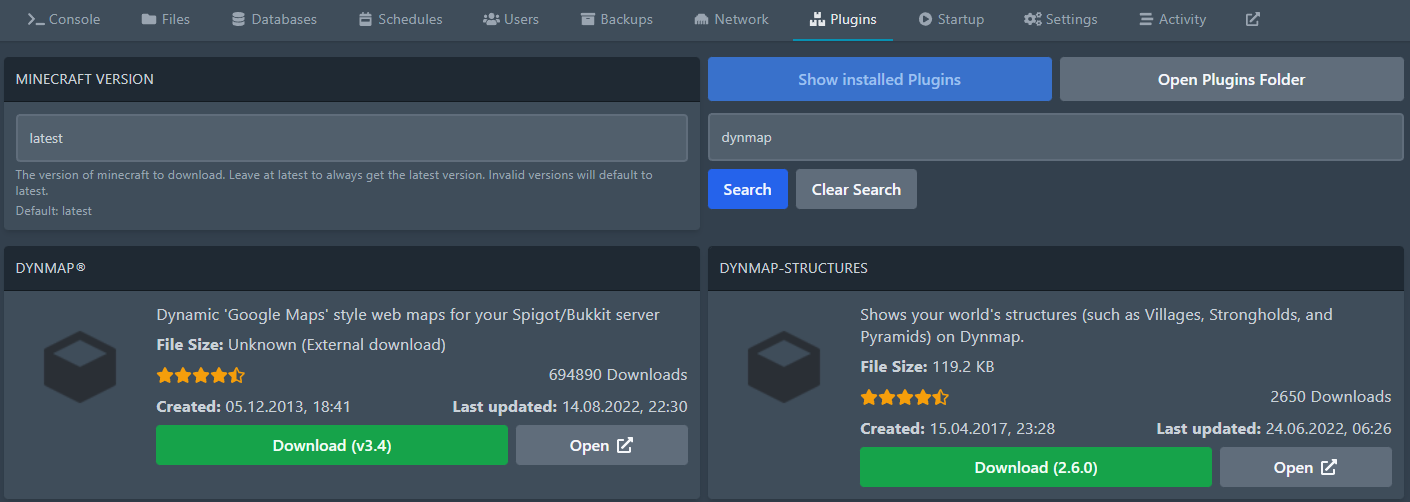
Install
Dynmap
.
You can either do this via the panels plugin manager (recommended) or by manually uploading the jar file to your
plugins
folder.
Restart your server.
Open the Dynmap config file. (
/plugins/dynmap/configuration.txt
)
You can either do this via SFTP or the panels web file browser.
Find the
webserver-port
line (around Line 334) and change it to the requested port.
Save the file and restart your server.
Now you can access your Dynmap via
http://:
, e.g. http://132.132.132.132:8765.
Can't find the information you are looking for?
Create a Support Ticket
Did you find it useful?
Thank you for your feedback.
Sorry about that :( We'll work to make it better.
You voted before.
(551 times viewed / 0 people found it helpful)
Categories
General (
0
)
Game Servers (
19
)
Panel (
4
)
Most Recently Added Topics
Cryofall Server Icon
Java Version for Minecraft Server
Minecraft Server Icon
Install a datapack
WorldEdit Mini Guide
Dedicated ip (standard port)
Connect to the game server via SFTP
Create DarkRP derived gamemode (e.g. StarWarsRP or MilitaryRP)
Install and setup Simple Voice Chat
Difference GB/ GiB (MB/ MiB)
Powered by
WISECP
Top
") Germany (Deutsch)
Germany (Deutsch)") Worldwide (English)
Worldwide (English)